 Pin It
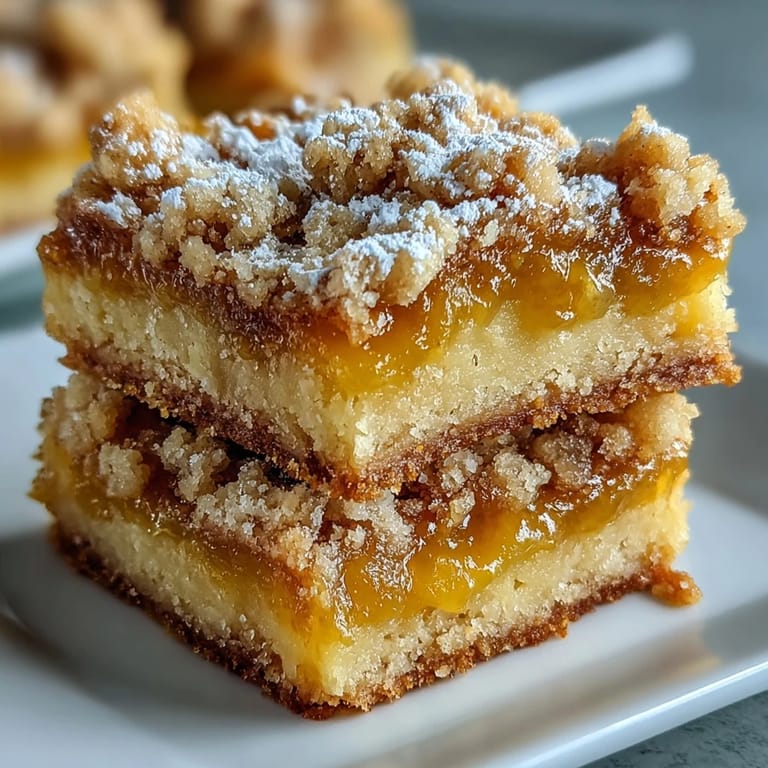
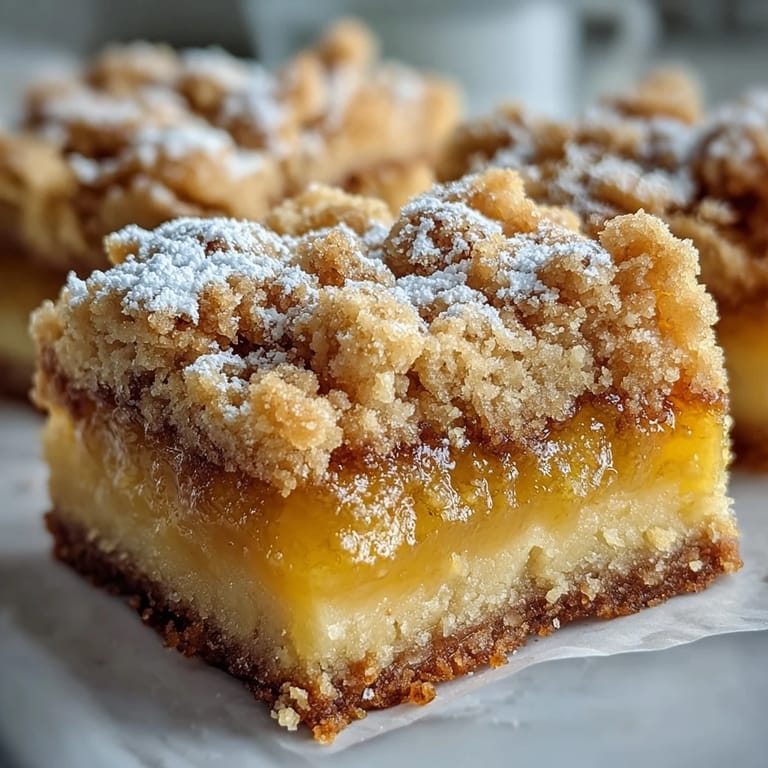
 My kitchen counter was cluttered with half-zested lemons when I realized I'd been standing there, lost in the rhythm of grating citrus, for nearly ten minutes. The smell alone had already filled the room with this electric brightness that made everything feel lighter. I was supposed to be making something impressive for a potluck, but instead I ended up with these bars, simple and unpretentious. They turned out to be the first thing gone from the table, leaving behind only a dusting of powdered sugar and crumbs. Sometimes the best recipes are the ones that don't try too hard.
I brought these to a friend's backyard gathering on a humid July evening when nobody wanted anything heavy. Watching people take tentative first bites and then immediately reach for seconds felt like a small victory. One guest asked if I'd used Meyer lemons, which I hadn't, but it made me realize how much the quality of your citrus matters here. The bars sat on a wooden board next to melting ice cream and warm cobbler, but they were the only dessert that didn't wilt in the heat. I've been making them ever since whenever the weather turns warm or I need something that feels both casual and special.
Ingredients
- All-purpose flour: Forms the base of both the crust and the tender filling, giving structure without heaviness if you don't overmix.
- Granulated sugar: Sweetens the crust and balances the sharp acidity of fresh lemon juice in the filling.
- Baking powder: Provides just enough lift to keep the crust crumbly and the filling from becoming too dense.
- Salt: A small amount sharpens all the flavors and keeps the sweetness from feeling flat or one-dimensional.
- Unsalted butter: Melted butter makes the crumb topping come together quickly and gives it that rich, golden flavor.
- Large eggs: Bind the lemon filling and give it that smooth, custard-like texture when baked.
- Fresh lemon juice: The star ingredient that delivers bright, tangy flavor, best when squeezed from real lemons rather than bottled.
- Lemon zest: Adds aromatic oils and an extra layer of citrus complexity that juice alone can't provide.
- Powdered sugar: Optional but beautiful for dusting over the cooled bars just before serving.
Tired of Takeout? 🥡
Get 10 meals you can make faster than delivery arrives. Seriously.
One email. No spam. Unsubscribe anytime.
Instructions
- Prepare the Pan:
- Preheat your oven to 350°F and either grease a 9x9-inch pan thoroughly or line it with parchment paper, leaving some overhang for easy lifting later. This step saves you from prying stuck bars out with a spatula.
- Mix the Crumb Base:
- Whisk together 1 cup flour, 1/2 cup sugar, 1/2 teaspoon baking powder, and 1/4 teaspoon salt in a medium bowl, then pour in the melted butter and stir until the mixture looks like damp sand. Reserve 1/2 cup of this mixture in a small bowl for topping, then press the rest firmly into the bottom of your prepared pan.
- Bake the Crust:
- Slide the pan into the oven and bake for 10 to 12 minutes until the edges just start to turn golden. You want it set but not deeply browned, as it will bake again with the filling on top.
- Make the Lemon Filling:
- While the crust bakes, whisk the eggs and 1 cup sugar together in a large bowl until smooth, then add lemon juice, zest, 1/4 cup flour, 1/2 teaspoon baking powder, and a pinch of salt. Whisk until no lumps remain and the mixture is silky.
- Assemble and Bake:
- Pour the lemon filling directly over the hot crust as soon as it comes out of the oven, then scatter the reserved crumb topping evenly over the surface. Return the pan to the oven and bake for 20 to 25 minutes until the filling no longer jiggles in the center and the crumbs are lightly browned.
- Cool and Chill:
- Let the bars cool in the pan on the counter for at least an hour, then transfer to the refrigerator and chill for another hour or longer before slicing. Cold bars cut cleanly and hold their shape much better than warm ones.
 Pin It
 One afternoon my neighbor knocked on the door and sheepishly asked if I had any more of those lemon things from last week. I didn't, but I had all the ingredients, so I mixed up a batch while she waited in the kitchen, talking about her daughter's upcoming wedding. By the time the bars were cool enough to cut, we'd planned half the dessert table together. She left with a plate of bars and I realized these had become more than just a recipe, they were an excuse to slow down and share something homemade.
How to Store and Serve
These bars keep beautifully in an airtight container in the refrigerator for up to a week, staying tangy and fresh the whole time. I usually cut them all at once and layer them between sheets of parchment paper to prevent sticking. They're best served chilled, straight from the fridge, with a light dusting of powdered sugar right before you set them out. If you're bringing them somewhere, transport them in the pan and slice them on-site so they look pristine.
Adjusting Sweetness and Texture
If you prefer a less sweet dessert, you can reduce the sugar in the filling by a few tablespoons without affecting the texture too much. For a firmer, more sliceable filling that holds up even at room temperature, whisk in a tablespoon of cornstarch along with the flour. I've also added an extra tablespoon of lemon juice when my lemons weren't particularly tart, and it made the bars even brighter. Taste your filling before pouring it over the crust and adjust to your liking, it's one of those forgiving recipes that adapts well.
Variations and Serving Ideas
Swapping lime juice and zest for lemon creates a tropical twist that pairs wonderfully with coconut or a drizzle of sweetened condensed milk. You can also add a handful of fresh blueberries or raspberries scattered over the filling before adding the crumb topping for bursts of color and flavor. These bars are lovely on their own, but they're even better alongside a pot of hot tea, a glass of cold Moscato, or a dollop of lightly sweetened whipped cream.
- Try using Meyer lemons when they're in season for a sweeter, more floral flavor.
- Add a pinch of cardamom or a drop of vanilla extract to the filling for subtle warmth.
- Serve them slightly frozen on a hot day for a refreshing, almost cheesecake-like treat.
 Pin It
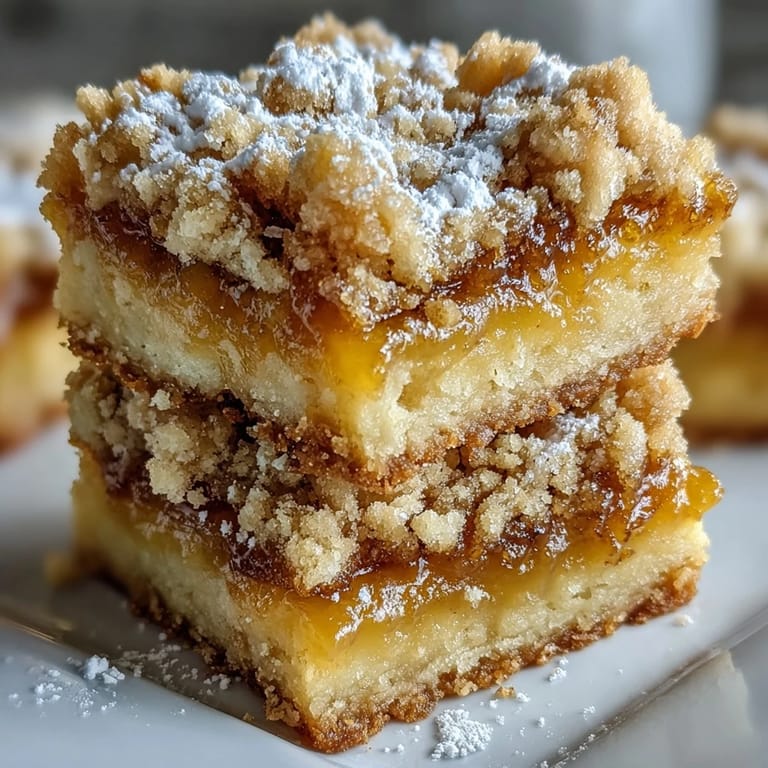
 There's something deeply satisfying about pulling a pan of these from the fridge, cutting into perfect squares, and watching the powdered sugar settle into the crumbs like fresh snow. They're proof that you don't need complicated techniques or expensive ingredients to make something people remember.
Recipe Questions
- → How long should lemon bars chill before serving?
Allow the bars to cool in the pan for at least 1 hour at room temperature, then refrigerate for an additional hour before slicing. This chilling time is essential for the filling to set properly and achieve clean cuts.
- → Can I use bottled lemon juice instead of fresh?
Fresh lemon juice provides the best flavor and brightness, but bottled juice can work in a pinch. However, fresh zest is crucial for that authentic citrus essence that makes these bars shine.
- → How do I know when the bars are done baking?
The filling should be set and no longer jiggly in the center, while the crumb topping should be lightly browned. The edges may start to pull away slightly from the pan edges.
- → Can I freeze these lemon bars?
Yes, these freeze exceptionally well. Wrap individual bars or the whole slab tightly in plastic wrap and aluminum foil. They'll keep for up to 3 months in the freezer. Thaw in the refrigerator before serving.
- → Why did my filling turn out runny?
Runny filling usually means insufficient baking time or inadequate chilling. The eggs need enough heat to properly set the custard. Always chill for the full recommended time to achieve the proper texture.
- → What's the best way to get clean cuts?
Use a sharp knife wiped clean between each cut. For extra precision, dip the knife in hot water and dry it before slicing. Chilling thoroughly before cutting also helps achieve neat, clean edges.