 Pin It
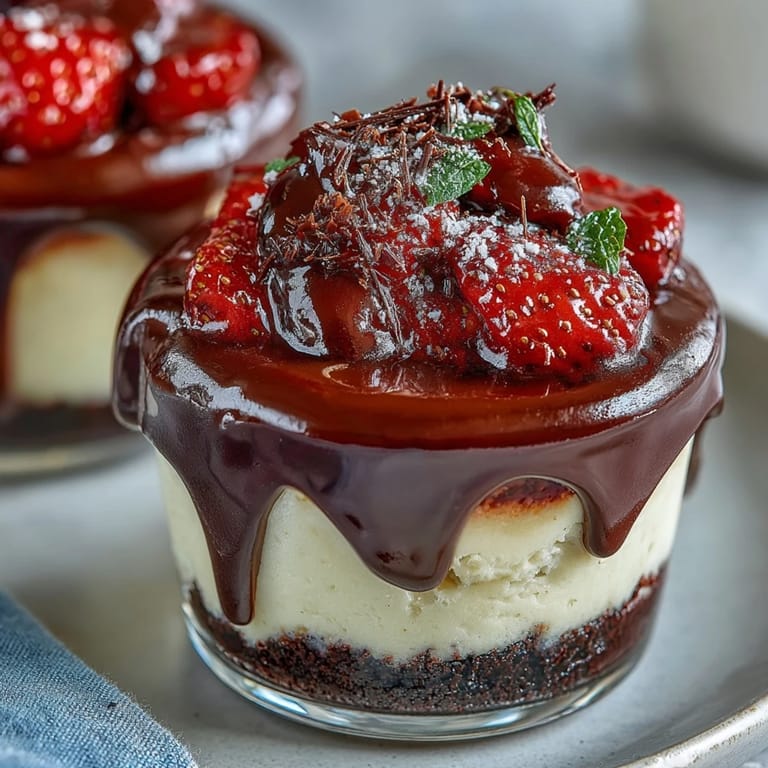
 Last summer, a friend returned from Dubai raving about the desserts—not the usual airport pastries, but these elegant little cups layered with chocolate, cream, and bright strawberries that tasted like luxury in a glass. I spent an afternoon experimenting in my kitchen, and what emerged was this no-bake cheesecake cup that somehow tastes far more complicated than it actually is. The beauty of it is that every element comes together without an oven, just patience and a cold fridge. Now whenever I make these, people assume I've spent hours in the kitchen, and I let them think it.
I made these for a small dinner party on a humid evening, and watching my guests dig into their cups with real delight—the way they paused after that first spoonful—reminded me that dessert doesn't need to be complicated to feel special. One guest asked for the recipe right there at the table, and I loved being able to say, honestly, that it took me twenty minutes to assemble them.
Ingredients
- Chocolate digestive biscuits (150 g), crushed: These hold their texture better than regular cookies and add a subtle cocoa depth that pairs beautifully with the cream layer.
- Unsalted butter (50 g), melted: Just enough to bind the crumbs without making the base greasy—this ratio is important.
- Cream cheese (250 g), softened: Room temperature is non-negotiable; cold cream cheese will be lumpy and won't fold smoothly with the whipped cream.
- Powdered sugar (80 g): Skip the granulated version here since it won't dissolve fully into the cream cheese.
- Heavy cream (200 ml), cold: Keep this in the fridge until the last moment; cold cream whips faster and holds better.
- Vanilla extract (1 tsp): A small but essential touch that rounds out the sweetness without announcing itself.
- Fresh strawberries (200 g), sliced: The maceration step draws out their natural juices, creating a subtle syrup that flavors the cream layer.
- Sugar for macerating (1 tbsp, optional): A light toss brings out the strawberry flavor, especially if they're not at peak ripeness.
- Dark chocolate (80 g), chopped: Quality matters here since it's the top layer—use something you'd eat straight from the bar.
- Heavy cream for ganache (80 ml): The heat ratio for ganache is crucial; too much liquid and it stays thin, too little and it becomes fudgy.
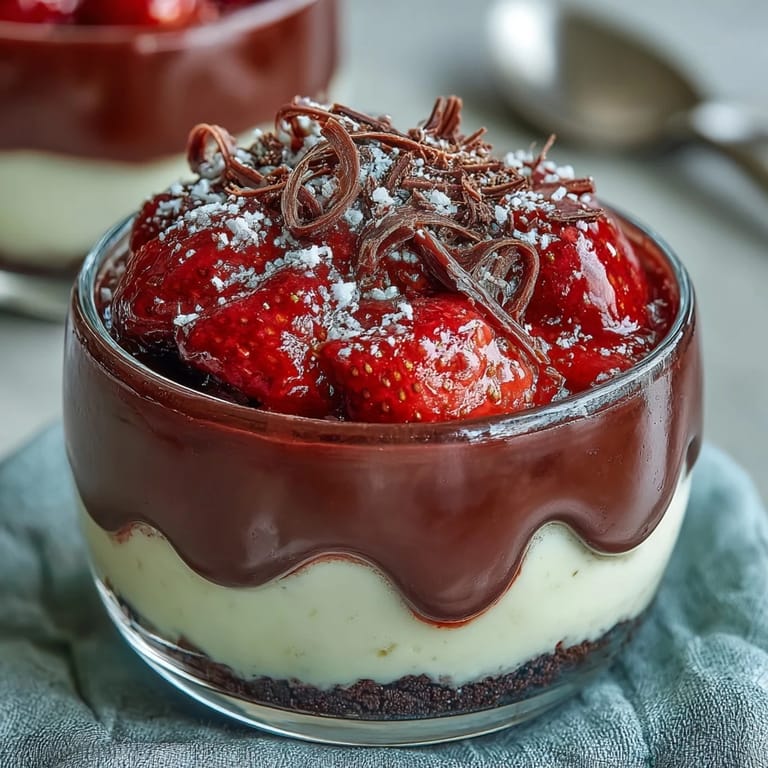
- Whole strawberries and chocolate shavings for garnish: These finishing touches are what make the cups feel intentional and photograph beautifully.
Tired of Takeout? 🥡
Get 10 meals you can make faster than delivery arrives. Seriously.
One email. No spam. Unsubscribe anytime.
Instructions
- Build Your Base:
- Mix the crushed chocolate biscuits with melted butter until every crumb is coated and the mixture feels like damp sand. Divide it evenly among your cups and press gently—you want it compact enough to hold together but not so tight that it becomes dense.
- Prepare the Cream Filling:
- Beat the softened cream cheese and powdered sugar until completely smooth with no lumps. In a separate bowl, whip the cold heavy cream with vanilla to soft peaks, then fold it into the cream cheese in two additions, turning your spatula gently until there are no streaks.
- Layer the Cheesecake:
- Spoon or pipe the whipped filling over the bases, creating an even layer about half an inch thick. If you're piping, it looks more polished; if you're spooning, that's just as delicious and takes seconds longer.
- Macerate and Layer the Strawberries:
- Toss your sliced strawberries with sugar and let them sit for ten minutes—this is when you'll see their juices pool at the bottom of the bowl. Layer them evenly over the cheesecake, and don't worry about draining the liquid; it seeps down and flavors the whole cup.
- Make the Ganache:
- Heat the cream until it just barely steams—don't let it boil. Pour it over the chopped chocolate, wait one minute without stirring, then whisk gently until the mixture is smooth and glossy and completely melted.
- Final Assembly and Chill:
- Spoon a thin layer of ganache over the strawberries in each cup, letting it settle naturally into the crevices. Refrigerate for at least two hours until everything is set and chilled through.
- Garnish Before Serving:
- Top each cup with a whole strawberry, a small handful of chocolate shavings, and crushed pistachios if you like. The garnish looks effortless but signals that something special is inside.
 Pin It
 There's something deeply satisfying about pulling these cups from the fridge and watching the layers reveal themselves—that moment when you can see the dark chocolate biscuit, the pale cream, the pink strawberries, and the glossy ganache all in one spoonful. It feels like you've done something intricate, even though you really haven't.
Why Make-Ahead Desserts Are a Quiet Superpower
The beauty of these cups is that they're done hours before your guests arrive, which means you're not stressed and actually present at your own dinner party. I've made them up to twenty-four hours ahead, and they stay perfect in the fridge—the filling sets firmer as the hours pass, the flavors deepen slightly, and everything just gets better. This is the kind of dessert that works whether you're hosting an intimate dinner or just want something elegant waiting for you at the end of a long day.
The Cardamom Variation (If You Want Dubai in a Cup)
If you want to lean harder into the Middle Eastern inspiration, add just a pinch—and I mean a small pinch—of ground cardamom to the cream cheese mixture before whipping. It's subtle enough that people won't identify it immediately, but it adds a warm, slightly floral note that makes the whole thing feel more sophisticated. Some friends asked if I'd used rose water, which tells you how transformative a tiny amount of spice can be.
Small Touches That Elevate Everything
The details that make these cups feel special are the ones nobody explicitly taught me—they just emerged from paying attention in the kitchen. Using real chocolate shavings instead of sprinkles, choosing a dark chocolate you actually enjoy eating, making sure your strawberries are as fresh as possible—these aren't rules, they're small acts of care that show up in the final bite.
- Press your biscuit bases firmly enough to hold together, but gently enough that they don't become a hard shell.
- If you're doubling the recipe, don't double the ganache in the same pot—it's harder to heat evenly and can break.
- Crushed pistachios add texture and a subtle nuttiness, but toasted ones elevate it even further if you have the time.
 Pin It
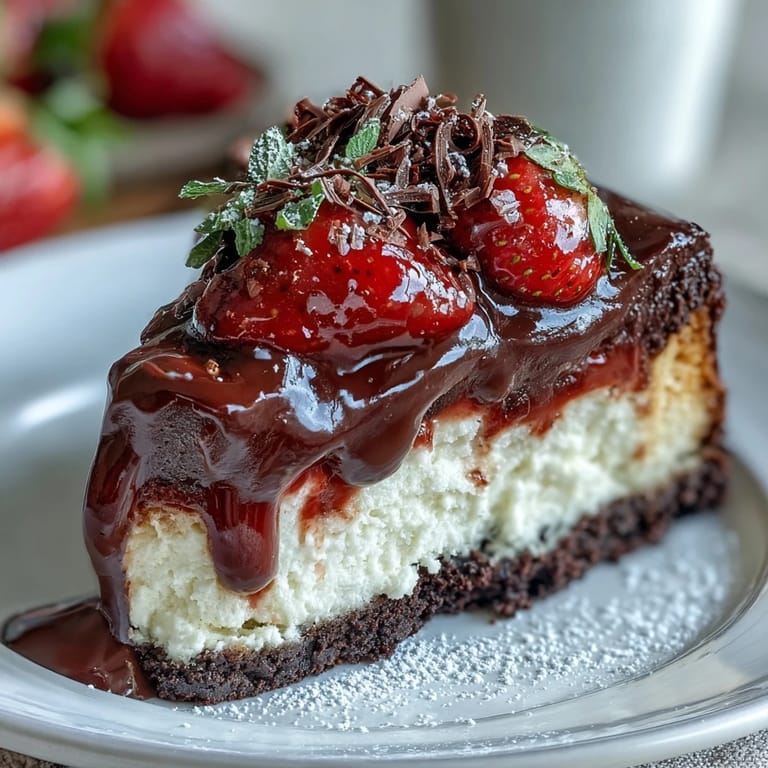
 These cups sit somewhere between homemade and fancy-restaurant-quality, which is exactly where the best desserts live. Make them once and you'll find yourself making them again, maybe with slightly different berries or an extra handful of pistachios, because they're simple enough to repeat and flexible enough to play with.
Recipe Questions
- → Can I use gluten-free biscuits for the base?
Yes, gluten-free biscuits can replace traditional digestive biscuits without affecting the texture significantly.
- → How do I achieve a smooth and creamy filling?
Beat the cream cheese and powdered sugar until smooth, then gently fold in whipped heavy cream and vanilla for a light, creamy texture.
- → What is the best way to macerate the strawberries?
Toss sliced strawberries with a small amount of sugar and let them sit for about 10 minutes to release their juices and soften.
- → How should I prepare the chocolate ganache?
Heat the heavy cream to a simmer, pour over chopped dark chocolate, let it sit briefly, then stir until smooth and glossy before layering.
- → Can these cups be prepared ahead of time?
Yes, assemble the cups and chill them for at least 2 hours; they can also be made up to 24 hours in advance for convenience.