 Pin It
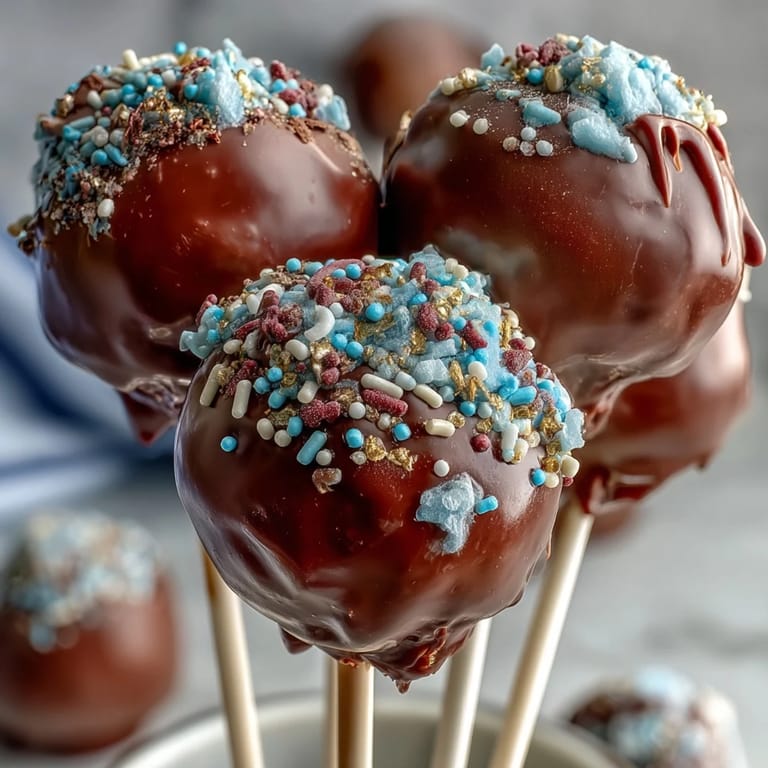
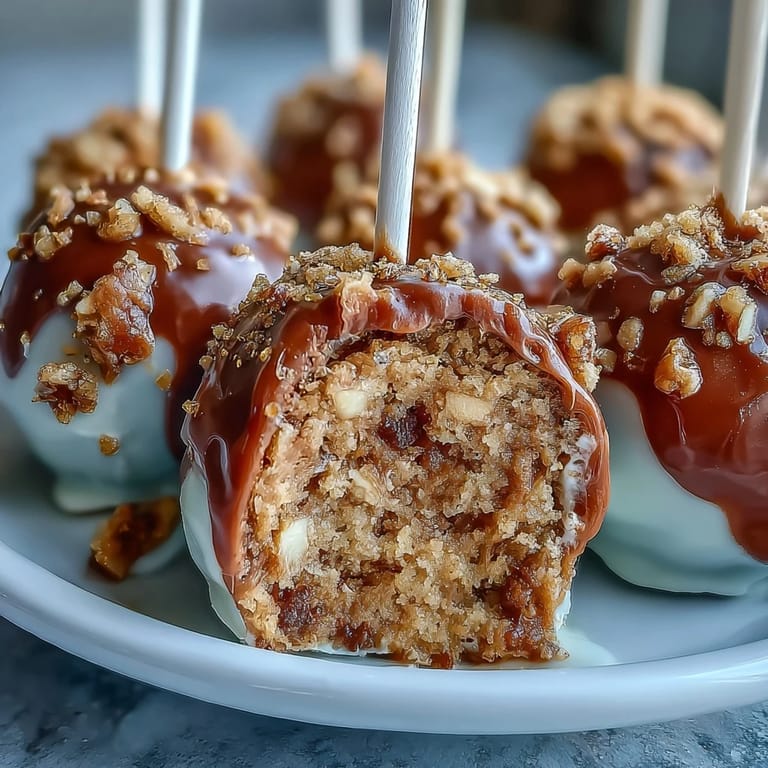
 My sister called me three weeks before graduation, slightly panicked, asking if I could make something special for her celebration party. She wanted desserts in her school colors—navy and gold—and something people would actually remember eating. I found myself standing in my kitchen at midnight, covered in powdered sugar, realizing that cake pops might be the answer. They're small enough to feel like a treat, elegant enough to photograph, and customizable enough to make anyone's graduation feel personal.
I'll never forget watching my sister's friends light up when they saw the pops arranged on a tiered stand at her party. One girl actually gasped and said they were too pretty to eat, which lasted about five seconds before everyone dove in anyway. That moment when something you made with your own hands becomes part of someone's memory—that's why I keep making these.
Ingredients
- Vanilla or chocolate cake mix: This is your base, and honestly, there's no shame in using a box mix—it guarantees consistent texture and takes the guesswork out of baking.
- Unsalted butter: Softened butter creams easier and gives frosting that silky texture that actually holds cake crumbs together.
- Powdered sugar: The fine texture matters here because lumps will ruin your smooth cake balls, so sift if you're sensing any clumps.
- Milk and vanilla extract: These two transform butter and sugar into something that tastes homemade, not like frosting from a can.
- Candy melts in school colors: They're easier to work with than real chocolate, set faster, and you can find them in nearly every color imaginable at craft stores.
- Vegetable shortening or coconut oil: This optional ingredient makes candy melts flow like silk, preventing that thick, chunky coating that happens when melts cool too quickly.
- Gold sprinkles or edible gold glitter: This is where the magic happens—these catch light and make people think you spent three hours on each pop instead of ten minutes.
- Lollipop sticks: They need to be food-safe and sturdy enough to hold a cake ball without bending, so don't grab craft sticks from the dollar store.
Tired of Takeout? 🥡
Get 10 meals you can make faster than delivery arrives. Seriously.
One email. No spam. Unsubscribe anytime.
Instructions
- Bake your cake:
- Follow the box instructions exactly and pay attention to cooling time—warm cake is crumbly and won't hold together later. I learned this the hard way by trying to rush.
- Make frosting that sticks:
- Beat your softened butter until it's pale and fluffy, about two minutes, then gradually add powdered sugar so you don't create clouds of powder everywhere. The milk and vanilla come at the end and should make everything taste like actual frosting, not just sweetness.
- Mix cake and frosting together:
- Crumble your completely cooled cake into a bowl and start adding frosting a little at a time—you're looking for a mixture that holds together when you squeeze it but doesn't feel wet or oily. Too much frosting and your pops become gummy, too little and they fall apart on the stick.
- Roll everything into balls:
- Use a tablespoon measure or cookie scoop to keep them consistent in size, which matters more than you'd think because uneven balls look unprofessional. Roll them smooth between your palms, then place them on parchment and refrigerate for at least an hour.
- Stick them up:
- Melt a small amount of candy melts and dip each stick end, then push it halfway into the cake ball—this anchor prevents sticks from spinning or falling out later. Let them sit for a minute before moving on.
- Dip into color:
- Melt your school color candy melts and thin with a little shortening if you want a smoother coat, then dip each pop and gently tap off the excess so coating doesn't pool at the bottom. Work quickly because these set fast and you want an even finish.
- Sparkle while wet:
- Immediately after dipping, sprinkle on gold while the coating is still tacky so it actually sticks instead of sliding off. This is the moment where cake pops transform from nice into show-stopping.
- Set them upright:
- Push sticks into your Styrofoam block at gentle angles so pops don't roll or touch each other while drying. This takes about an hour, and you can't rush it without ruining the finish.
 Pin It
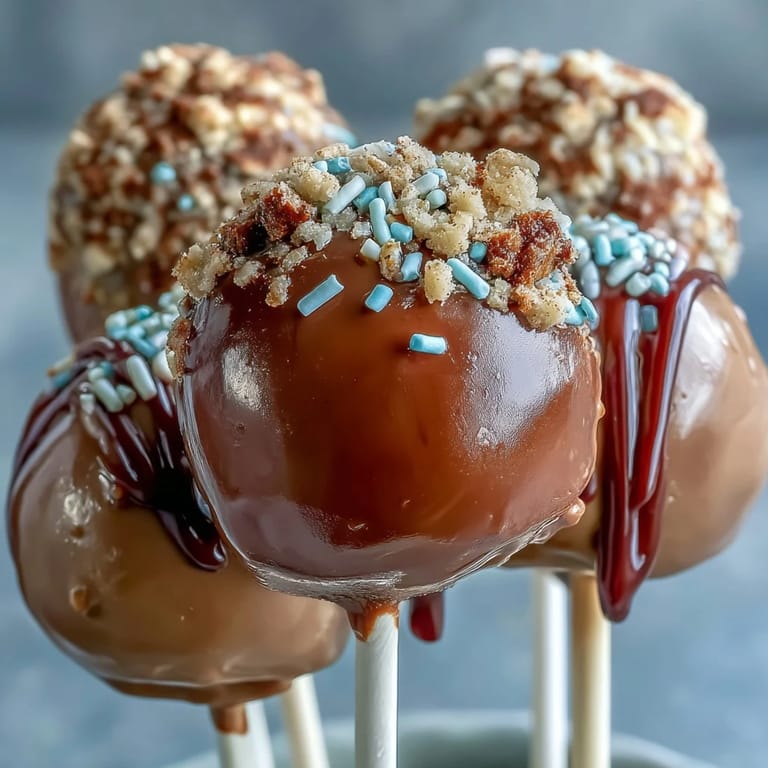
 Standing there in my sister's kitchen, watching people pick up these little golden pops and feel fancy, I realized these aren't just desserts—they're edible confetti for someone's big moment. That's why I'd make them again in a heartbeat, even the messy parts.
Choosing Your Colors Strategically
The real magic happens when you pick your two school colors and think about how they'll look together. Navy and gold feels sophisticated, while bright red and white looks energetic and fun. If your school uses a dark color, consider using it on half the batch and the lighter color on the other half, which makes them look intentional instead of overwhelming.
What to Do If Something Goes Wrong
If a cake ball falls off its stick mid-dip, don't panic—just fish it out, let it cool, and re-dip it. If your coating looks bumpy or streaky, your shortening amount was wrong or your melts were too cool; remelt everything and try again with confidence. The beautiful thing about cake pops is that even imperfect ones taste amazing and most people won't notice flaws you're obsessing over.
Making These Ahead and Keeping Them Fresh
You can actually make the cake balls two days ahead and freeze them in an airtight container, then dip and decorate the day of the party. This splits the work and means you're not standing over melted candy at 6 p.m. when people are arriving. Once decorated, they keep beautifully at room temperature for three days or in the refrigerator for a week, making them perfect for graduations where timing is always chaotic.
- Freeze undecorated cake balls for up to two weeks if you're planning way ahead.
- Store decorated pops in layers with parchment between them so they don't stick together.
- Let refrigerated pops come to room temperature for five minutes before serving so they taste their best.
 Pin It
 These cake pops aren't just about celebrating graduation—they're about showing someone you care enough to make their party special. That effort is always worth it.
Recipe Questions
- → How do I get smooth coating on the cake pops?
Adding vegetable shortening or coconut oil to the melted candy melts helps create a smoother, shinier coating that's easier to dip.
- → Can I use different cake flavors?
Absolutely. Vanilla or chocolate cake both work well, and feel free to experiment with other flavors to suit your taste.
- → What’s the best way to keep cake pops from falling off the sticks?
Dip the lollipop stick tip into melted candy before inserting it halfway into the cake ball to create a secure hold once set.
- → How long should I chill the cake balls before dipping?
Refrigerate the shaped balls for at least an hour or freeze for 30 minutes to ensure they are firm and easier to dip without falling apart.
- → How should cake pops be stored after preparation?
Store in an airtight container at room temperature for up to 3 days or refrigerate for up to one week to maintain freshness and texture.