 Pin It
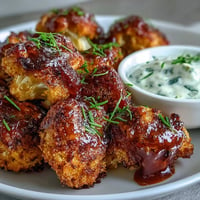
 The first time I encountered fried pickles was at this hole-in-the-wall bar during college, and I laughed at the concept until one bite changed my entire perspective. The contrast between that cold, briny crunch inside and the hot, seasoned shell outside was something I had never experienced. I went home that same night and tried to recreate them, burning three batches before figuring out the oil temperature was way too high. Now they are the most requested appetizer at every gathering I host, and people who claim to hate pickles somehow always end up reaching for seconds.
Last summer I made these for a backyard BBQ and my friend Sarah, who had spent her entire life avoiding pickles, took what she thought was a fried cheese stick. Her face when she bit down was pure confusion followed by an immediate request for the recipe. Now she makes them for her own parties and texts me every time saying she cannot believe she was missing out for thirty years. Watching self-proclaimed pickle haters convert is honestly half the fun.
Ingredients
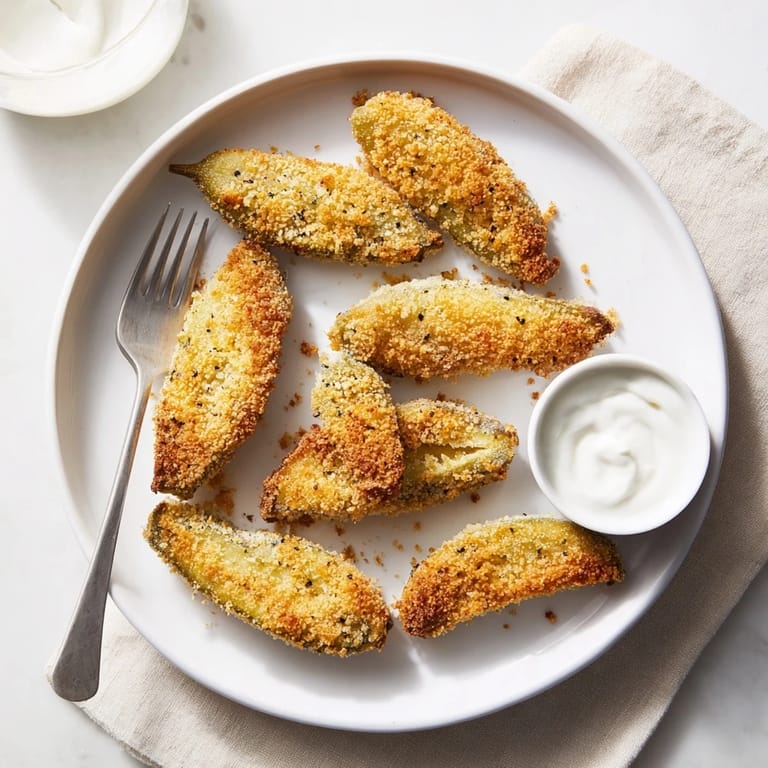
- Dill pickle spears: Large spears hold up better during frying and give you that satisfying pickle-to-breading ratio
- All-purpose flour: Creates the base layer that helps the egg wash cling to the pickle surface
- Eggs and milk: The glue that holds everything together, whisked until smooth for even coating
- Breadcrumbs: Panko gives extra crunch but regular works fine, just press firmly to avoid bare spots
- Garlic powder and paprika: These add depth and that classic seasoned fry flavor that makes them taste restaurant quality
- Cayenne pepper: Optional but adds a subtle heat that cuts through the richness of the frying oil
- Vegetable oil: Neutral flavor lets the pickle taste shine while achieving that perfect golden fry
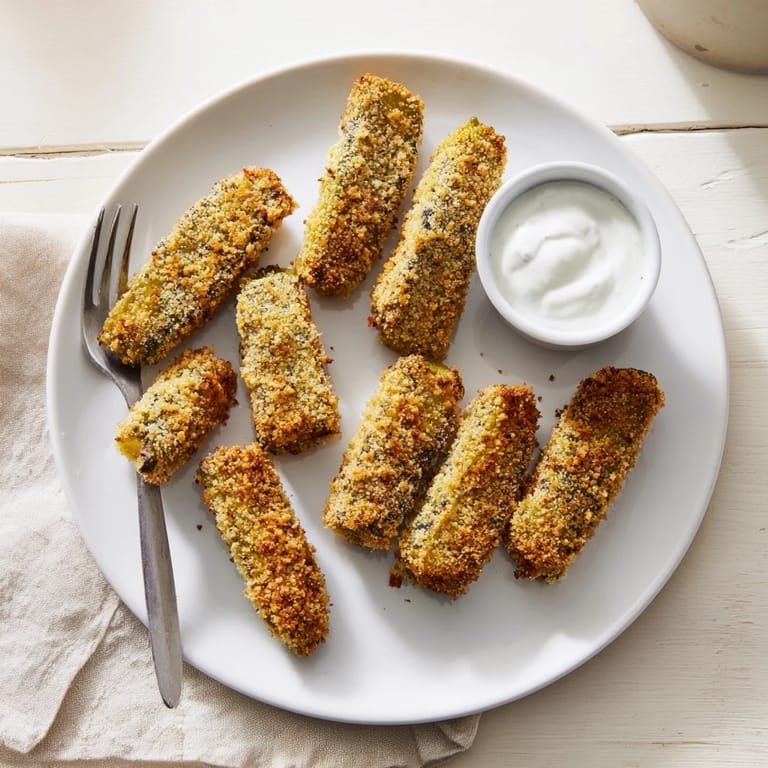
- Ranch dressing: The cool creamy element that balances the hot, salty, tangy combo perfectly
Tired of Takeout? 🥡
Get 10 meals you can make faster than delivery arrives. Seriously.
One email. No spam. Unsubscribe anytime.
Instructions
- Get your oil ready:
- Heat 2 inches of oil in a heavy pot until it reaches 350 degrees F, or until a drop of water sizzles immediately upon contact
- Set up your coating station:
- Arrange three shallow bowls with flour first, whisked eggs and milk second, and seasoned breadcrumbs third, for easy assembly line dipping
- Coat the pickles:
- Dredge each spear in flour, shake off the excess, dip in egg wash, then press firmly into crumbs, ensuring no pickle shows through
- Fry to golden perfection:
- Carefully lower pickles into hot oil and cook for 2 to 3 minutes, turning once, until deep golden brown and crispy all over
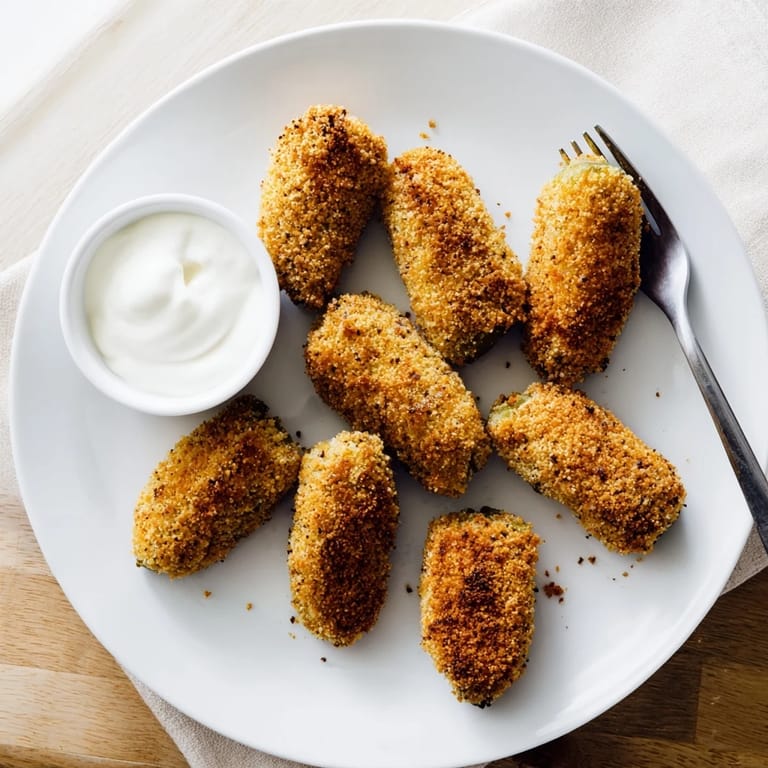
- Drain and serve:
- Lift onto paper towels to absorb excess oil, then serve immediately while they are still hot and audibly crispy
 Pin It
 These became my signature dish during football season after I served them at a watch party and everyone stopped watching the game to crowd around the kitchen island. Something about that crunch and tang just brings people together, creating these moments where strangers bond over reaching for the last spear.
Getting That Perfect Crunch
The secret restaurant style texture comes from pressing the breadcrumbs onto the pickles rather than just sprinkling them. I use the back of a spoon to really embed the crumbs into the egg wash, which prevents bald spots and ensures every bite has that satisfying crispy coating that shatters when you bite in.
Temperature Matters
I learned the hard way that 350 degrees F is the sweet spot, and investing in a simple kitchen thermometer eliminated all my earlier failures. Too hot and they burn before the pickles warm through, too cool and they absorb oil like a sponge, leaving you with heavy, soggy spears that no one wants to eat.
Make Ahead Success
You can bread the pickles up to two hours ahead and keep them refrigerated on a wire rack, which actually helps the coating set. When you are ready to serve, just fry them in batches and they will come out perfectly crisp every single time.
- Keep fried pickles warm in a 200 degree F oven if you need to fry in large batches for a crowd
- Sprinkle with a little flaky salt immediately after frying for an extra flavor boost
- Double the breading mixture if you are making more than 16 spears so you never run short mid-recipe
 Pin It
 There is something deeply satisfying about transforming such a simple ingredient into something that feels indulgent and special. These fried pickles have become my go-to for turning an ordinary gathering into something people talk about weeks later.
Recipe Questions
- → What type of pickles work best for frying?
Dill pickle spears are ideal because they hold their shape well during frying. Look for thick-cut spears that aren't too thin, and pat them thoroughly dry before breading to prevent sogginess.
- → Can I bake these instead of deep frying?
Yes, though the texture won't be quite as crispy. Arrange breaded spears on a baking sheet coated with cooking spray and bake at 425°F for 15-20 minutes, flipping halfway through, until golden and crisp.
- → How do I keep fried pickles crispy?
Drain them on paper towels immediately after frying and serve while hot. Avoid stacking them, as steam makes them soggy. If needed, keep them warm in a 200°F oven on a wire rack for up to 30 minutes.
- → What other dips work well?
Besides ranch, try spicy mayo, honey mustard, garlic aioli, or blue cheese dressing. A side of marinara or comeback sauce also complements the tangy pickles beautifully.
- → Can I make these gluten-free?
Absolutely. Substitute all-purpose flour with a 1:1 gluten-free flour blend and use certified gluten-free breadcrumbs. Panko alternatives made from rice or corn work wonderfully for maintaining crunch.